Info
| Name | Vendor Enhanced nopCommerce Plugin |
| Market | codester.com |
| Category | nopCommerce |
| Tags | gallery, image, nopcommerce, picture, plugin, qrcode, rating, review, star, vendor, widget |
Overview
This Plugin will enhance the vendors page by overriding default nopCommerce vendor page.
- Vendor Star Rating with Vendor Review and Rating entry form on Vendor Details Page.
- Vendor QRCode on Vendor Administration Page and Vendor Details Page.
- Vendor Picture on Vendor Administration Page and Vendor Details Page.
It’s easy to install and also easy to customize.
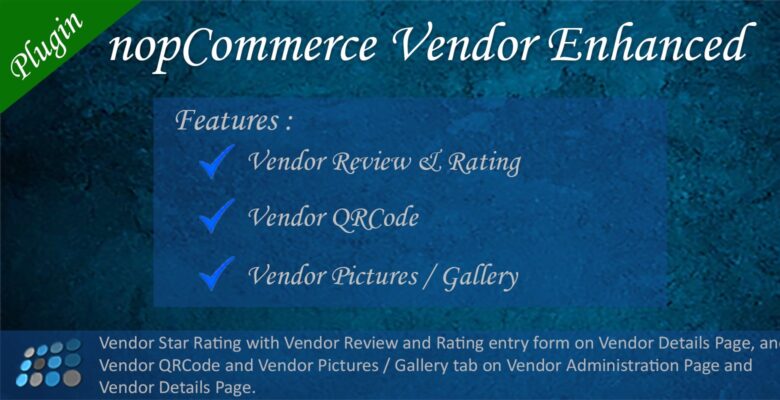
Features
- Vendor Review & Rating
- Vendor QRCode
- Vendor Picture Gallery
Requirements
Supported nopCommerce Versions: 4.10, 4.20
Instructions
Using from Source Code
- Copy Nop.Plugin.Misc.VendorEnhanced folder of Source folder to Plugins folder of nopCommerce project
- Open nopCommerce in Visual Studio
- Right Click Plugins folder and Select Add > Existing Project…
- Select Nop.Plugin.Misc.VendorEnhanced.csproj which is inside Nop.Plugin.Misc.VendorEnhanced folder
- Build Nop.Plugin.Misc.VendorEnhanced (Update Nuget packages if any)
- Run the project
- Install the plugin (Steps below -> Using without Source Code)
Using without Source Code
- Go to Administration of nopCommerce site
- From Dashboard expand Configuration menu
- select Plugins menu
- Click Upload plugin or theme button
- Select Nop.Plugin.Misc.VendorEnhanced.zip file of Install folder
- Click Upload plugin or theme button
- Click Install to install Vendor Enhanced plugin which is listed on Plugins page
- After install Click Configure of Vendor Enhanced plugin
- Enable the required feaures
