Overview

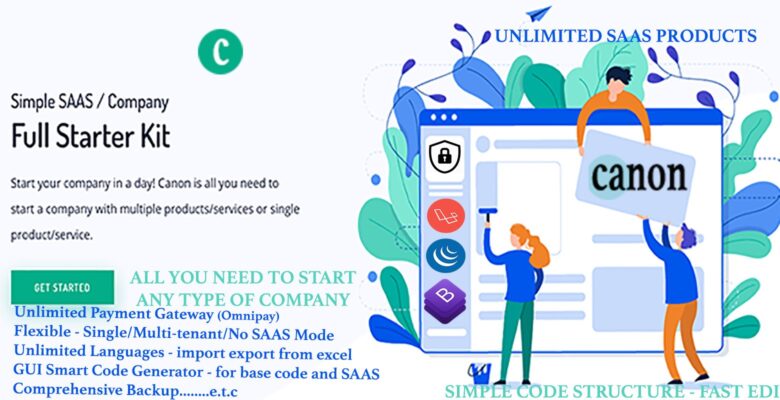
START YOUR SAAS COMPANY IN A DAY WITH THIS KIT WITH LITTLE OR NO CODING.
Canon is a software starter created to solve real world problems faced during software development; problems often faced when starting a new company especially in IT or start up based on SAAS. It can be time consuming creating customer welcoming easily managed system, erratic time consumption involved in starting a company could be striped down with canon.
Canon is a robust multipurpose Software As A Service (SAAS) starter Kit with support for multiple services/products. It can be used as starter kit for a new company or individual website development.
Benefits of using this product include multiple run of services with just one kit, a GUI to add products and automatic generation of resources/codes for the product added, pricing and invoicing for the product generated.
Also, a CRUD generator is added for extension. The CRUD could be used to generate base code or SAAS code for specific product just by selecting options and click of a button.
Canaon is built for:
An inexperienced individual who is interested in starting a SAAS company.
A start up company in need of a number of ready made components such as billing, blog, mailbox, user and role management with support for multiple unlimited languages and perfect control of content.
A developer starting a SAAS Project (Single or Multiple Service based).
A Laravel project that requires STEROID.
Features
- Support Unlimited Tenant
- Mini Content Management System (CMS) and Menu Builder
- Support Single Database Per Tenant (Multiple DB)
- Backup manager for each Tenant and Each Product
- Very Neat Optimized code
- Powered by laravel 6 with all up to date packages.
- Omni Payment gateway with support for unilimited payment gateway (paypal, stripe, paystack e.t.c)
- Come with Stripe and Paypal
- Unlimitied Number of Services/Products with Automated Dashboard and Statistic
- GUI CRUD generator for Extending Services or Native Default Code.
- Easily generate code for existing Database structure.
- Simple Flexible Invoice management
- CRON Job to automated Invoice Management
- Simple Neat Light Responsive Design
- Mulit language support (Front and Backend)
- GUI Language Editor
- Built In User Management and Role
- Order Management
- Mail Box System
- Blog System with comment option
- Front End Management
- Services/Product Management
- Pricing Plan Management for Products/Services
- Even Management System (Calendar form)
- File Manager (Admin,users and Tenant)
- Database Backup Manager For Tenant And Admin
- Builtin Wallet System
Requirements
- PHP >= 7.1.X
- OpenSSL PHP Extension
- PDO PHP Extension
- Mbstring PHP Extension
- Tokenizer PHP Extension
- XML PHP Extension
- GD PHP Extension
- Fileinfo PHP Extension
Most server have all these installed already.
Instructions
Installation
Installtion is simple and straight forward.
- storage/framework/
- storage/logs/
- bootstrap/cache/
- storage/dbbackup/
- public/uploads/
- .env
- sudo chown www-data:www-data storage -R
- sudo chown www-data:www-data public -R
- sudo chmod 775 storage/framework -R
- sudo chmod 775 storage/logs -R
- sudo chmod 775 bootstrap/cache -R
- sudo chmod 775 storage/dbbackup -R
- sudo chmod 775 public/uploads -R
- sudo chmod 775 .env
Step 1 – Welcome Screen

After creating the database next step is accessing the application URL from a browser. One thing you need to know is that Laravel is designed to allow HTTP access to the application from your public folder only. This means that this application will be available at yourdomain.com/public. It is good enough for installation and development purposes, however, for production, you will probably want to have your application available at yourdomain.com.
To open the installer. Visit
Note: If you are not able to access the website by accessing yourdomain.com/public/install, but you are able to access it via yourdomain.com/public/index.php/install, this means that you probably don’t have Apache mod_rewrite installed and enabled.
Fill in appropriate credential for the wizzard, and finalize install.
Now You are ready to go.
Login details are
Admin Login:
Email: [email protected]
Password:admin
User Login:
email: [email protected]
password: user
Setup
After Installation, you generally require no further setup, other than basic ones.
Visit yourdomain.com/admin/settings main settings.
THEN START BUILDING YOUR NEXT AWESOME PROJECT.
Payment Settings
Stripe Settings Create plans on stripe and set recurring payments and then put that plan id in packages table.
Update the values in .env file for following
Create Service
To add new product/service, click on products on your left menu, and fill product details.
Code will be generated for the product, which you can easily extend
Then users (those in need of the product) can purchase , and the will be given unique domain such as userslug.productname.yoursite.com
User can forward mydomain.com to above subdomain using cname or other means.
For this to work properly, user should link the domain to their subscribed product adding domain.
To Link Domain
- Go to dashboard,
- On your product list,click view
- Input desired domain name for the product
Backup Service
Backup could be done for the base code and individual product/service on tenant base.
Possible action:
Backup main root db
Restore from file for individual order
Users/Tenants can download backup
View Service
Each service/product have its own directory for all resources (controller, model and view)
The location for each product resources could be found unde /app folder in respective resources
Note: All code generated can be found in “Apps” folder for each resources.
Similar structure is used for GUI code generator when product is selected
Others
Extending Product/Service
After creating a product/services, some basic code are already bootstrapped as illustrated above.
To continue product development, coding might not be needed, just have your database structure and you are ready to move
Go to Crud Builder on your left menu, Check “Is product” option and select the product
Others
For further modification, you can edit files generated in respective folder as shown in above section
Support:
please mail us via [email protected] for fast support
