Overview
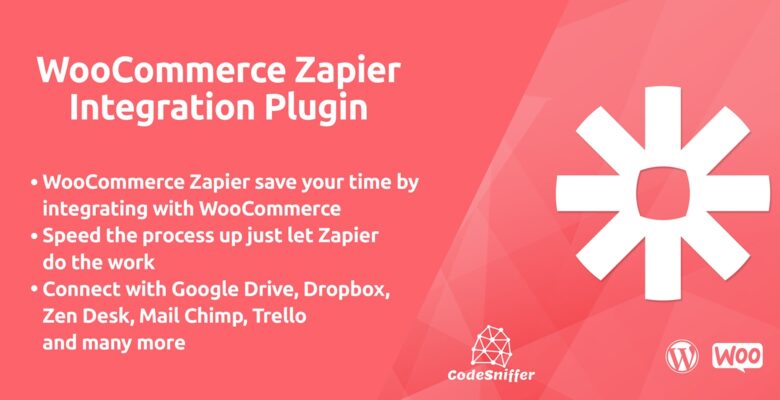
Code Sniffers WooCommerce Zapier Plugin Save time and hassle by automatically sending WooCommerce order, customer and subscription data to 1200+ cloud services you already using. It’s make your life easy to Connect with Google Drive, Dropbox, Zen desk, Mail chimp, Campaign, Trello, Google Sheet.
Features
· WooCommerce Zapier save your time by integrating with your WooCommerce store.
· Connect with Google Drive, Dropbox, Zen desk, Mail chimp, Campaign, Trello, Google Sheet & much more.
· Speed the process up just let Zapier do this job for you.
· Once any things happen (New order, New Customer, Order Update, Subscription Created, New Line Item added in order, Order Status changed, Subscription Renewal, Subscription Renewal Fail) Zapier can do for you with more then 100+ application integration.
· Never forget a step let one event in WooCommerce trigger multiple application change automatically by Zapier.
· Reduce shopping cart abandonment by acting quickly on cancelled orders, follow-up with customer’s right after they purchase and more.
· Efficiently notify the right members of your team and only the right ones.
· Understand how your store is performing with daily, weekly or monthly aggregate reports
Requirements
You must have latest WordPress & WooCommerce Installation already done on your website.
Instructions
Before we start with the process of installing Plugin, make sure you have downloaded the plugin itself whether from codester.com or from https://www.codester.com
Now when you have it downloaded on your computer you may start installation process. There are two ways for doing that: from WordPress admin panel and via FTP.
Let’s see how it goes the easy way – from WordPress admin panel.
1. Install Plugin using WordPress admin panel
On your side menu, place your cursor on Plugins and then click on Add New.
On the Add Plugins page select Upload Plugin
Now select Choose File and browse to plugin.zip file on your computer, then click Open.
When done, hit Install Now button and the installation procedure will start. Wait until it is done and then click Activate Plugin, as in the picture below.
2. Install Plugin Using FTP Manager
This method is not very user friendly (although it is not at all complicated as it may seem at the beginning) but it offers complete overview of the stuff happening “behind the scene”.
For this method, you will need an FTP manager such as FileZilla -All Platform, FireFTP -All Platform, Cyber duck -Mac Only, Winesap -Windows Only, or any other for that matter.
With this installation method you will notice the difference in the very beginning as you will need to unpack downloaded plugin.zip on your hard drive. When finished unpacking, you will end up with a folder named “plugin”.
Now, head to your FTP client of choice and connect to your FTP account. Usually, FTP managers have two “sides” where the one is your local drive and the other is your server. Browse to your WordPress installation folder on the server and head to wp-content/plugins folder. Next, browse to the plugin folder on your hard drive, select the whole folder and drag&drop it to wp-content/plugins folder on your server.
Wait until upload process finishes. Then log in to your WordPress admin panel and head to Plugins. Your Plugin should be now listed with all of the other plugins (if not, you probably have uploaded it to the wrong folder). Now, go ahead and click Activate.