Info
| Name | Invoice Manager CRM – PHP Script |
| Market | codester.com |
| Category | CRM |
| Tags | accounting, administration, Billing, business, client, crm, invoice, invoice manager, invoicing, kodly, payments, shop |
Overview
Invoice Manager – The features you want, the simplicity you need! Ease to use for the best user experience. The software that works for YOUR Business! Get growing – with affordable business software. Find innovative ways to manage customer data, know your business cashflow, send an invoice to customer Hassle-free with a single click, payment reminder, payment confirmations & get paid online integrated with payment gateways. Most of all create invoices and get paid on the go!
Having an issue or a query? kindly contact us directly: Here
Our staff are intended to be available 24/7 and respond immediately to tickets opened on our link.
Preview Login Details:
Founder:
– Username: [email protected]
– Password admin
Manager:
– Username: [email protected]
– Password memo123
Accountant:
– Username: [email protected]
– Password stacey
Store Keeper:
– Username: [email protected]
– Password steve123
Client:
– Username: [email protected]
– Password whiskey
NOTE: The preview system has disabled data fields so it doesn’t fill up our server database.
Features
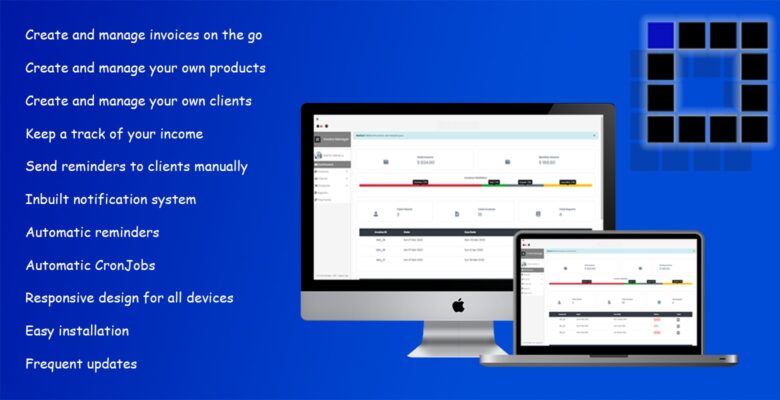
- Create and manage invoices
- Create and manage your own products
- Create and manage your own clients
- Keep a track of your income
- Send reminders to clients manually
- Inbuilt notification system
- Automatic reminders to clients for payments, overdue invoices, successful payments
- Automatic CronJobs
- Responsive design for all devices
- Easy installation
- Frequent updates on the script with an inbuild notification so you don’t miss an update
Requirements
– Website Hosting / VPS
– Domain
– PHP 7.0
– MYSQL 5.x
Instructions
- Installation:
- Install all your files on the server domain folder
- Run the install.php page (http://yourdomain.com/install.php)
- Make sure you have the database and a database account ready
- Fill up all the fields in install.php with the required database details and the domain of where the script is being hosted eg. (http://yourdomain.com/)
- If installation is successfull, remove the install.php and run the domain you have inserted in the installation file.
To Start/ Add Client:
- Login with these details:
- Username: [email protected]
- Password: admin
- Once you’re inside, press clients from the left tab > Create Client
- Insert your details so you create an account for yourself (to avoid hacking)
- List all the users
- Press the ‘View Client’ on your account
- From the right hand side give your self the number for the founder rank (listed under the rank tab)
- Login to your account and remove the admin account.
NOTE: That is the same way to create a client (without giving them any rank)
Creating A Product:
- Click on the products tab from the left menu > Create Product
- Fill up your product details and press the green button under the form
- To check all your products created press on View Products
Creating An Invoice:
- Click on Invoices tab on the left menu > Create Invoice
- Fill up the form
- Choose the client you have created
- Choose the form of payment
- Create a due date
- Optional Discount (percentage)
- Add products by the + button on the right hand side and fill up the forms added below
- Tax and invoice disclaimer can be changed from the settings button (cog icon) on the nav left hand side
NOTE: Once the invoice is created, it will be saved as draft. For the client to see it, you have to remove the draft with the instructions below.
Check Invoice Status:
You can check invoices status by viewing invoices from the View Invoices tab on the left hand side and you have the options to update your invoices and download them as pdf, send to your clients and more features.
Reports:
A client can create a report for a query with you about his invoice. To view any reports created you can see them from the Reports tab on the left hand side menu. You can set a status to done, or reply by viewing the report.
Settings:
- One can find the settings on the top navigator (cog icon)
- 6 tabs of settings:
- Main: Script Settings
- Invoice: Details to be shown and update on all invoices.
- Payments: Settings for payment gateways
- Prefixes: Change each prefix according to your need for all the sources eg. Invoice – INV_
- Logos: Update your website, invoice and logo for top of tab (favicon)
- Details: Check which version of the script you have.
NOTE: In Settings page automatic notice will show if an update is available
Create A Lanaguage:
- Duplicate English.php from languages folder, rename it to any language name (first letter Uppercase).
- Modify the values inside the language file (inside the inverted commas (” “) )