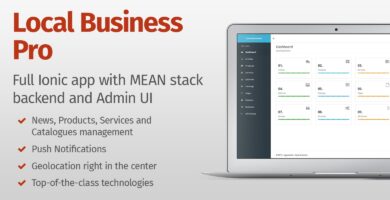
Overview
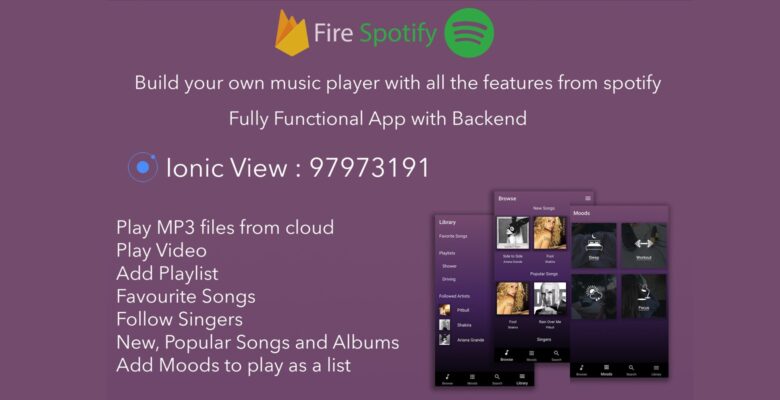
FireSpotify is a Spotify music app clone built using Ionic 3 Framework!
Firebase is used for the backend
Angular 2 Template is used for the admin dashboard
Features
- Music Player
- Swipe to change track
- Firebase Realtime Database
- Moods
- Follow Artist
- Like Songs
- Custom Playlists
- Popular Songs Albums and Singers based on user experiences
- Search Songs Singers and Albums
- Notification Music Control
- Player Background Effect
- Mini Player In Every Page Of The App
- Shuffle Singer, Album or Playlist
- Progress bar on top of mini player
Requirements
- Cordova
- Ionic 3
- Firebase CLI
- Android SDK
- Mac OS & X Code for Ios app
Instructions
Application Installation
As This Application is based on Ionic 3, i assume you have a knowledge about Ionic Framework and Angular 4 as well as Cordova.
For Ionic installation please refer to https://ionicframework.com/docs
1. Preparing Firebase Database
- Go to https://console.firebase.google.com
- Add a project and name it
- Add app / Click on Web
- Copy the data inside var config= {copy inside this}
- Go to the ionic app root folder -> src -> app.module.ts
- Paste the copied data from firebase into export const firebaseConfig = { here }
- Save and close it
2. Installing Node Modules
- Open CMD/Terminal/Powershell
- Go to the root folder of the app
- Run command “npm install”
- Run command “ionic lab”
3. Building Android and iOS app
- Follow the documentation from ionic website
- Install Android SDK (iOS is only possible on MacOS)
- Go to app’s root folder
- Run command “cordova platform add android”
- Run command “cordova build android”
Backend Installation
As This Backend is based on Angular 4, i assume you have a knowledge about Typescript and Angular 4 as well as NodeJs.
For NodeJs installation please refer to https://nodejs.org/
1. Preparing Firebase connection (firebase data is the same as the app)
- Go to the root folder of backend -> src -> app -> app.module.ts
- Paste the copied data from firebase into export const firebaseConfig = { here }
- Open CMD/Terminal/Powershell
- Run command “npm install -g firebase-tools” ###li/li###
- Run command “firebase init” as well as “firebase login”
- Follow the steps from firebase CLI
- Choose dist as the folder for hosting
2. Installing Node Modules and run the backend web app locally
- Go to root folder of backend using terminal or CMD
- Run command “npm install -g yarn”
- Run command “yarn” wait until it finish
- Run command “npm start” and open http://localhost:4200 in your browser
3. Uploading the backend
- Go to root folder of the backend
- Run command “npm run build:prod” and it will build it into folder “dist”
- You can upload dist folder to your own hosting or to firebase
- Run command “firebase deploy” wait until it finishes uploading
- It is ready to use the backend online using the link provided when upload finishes
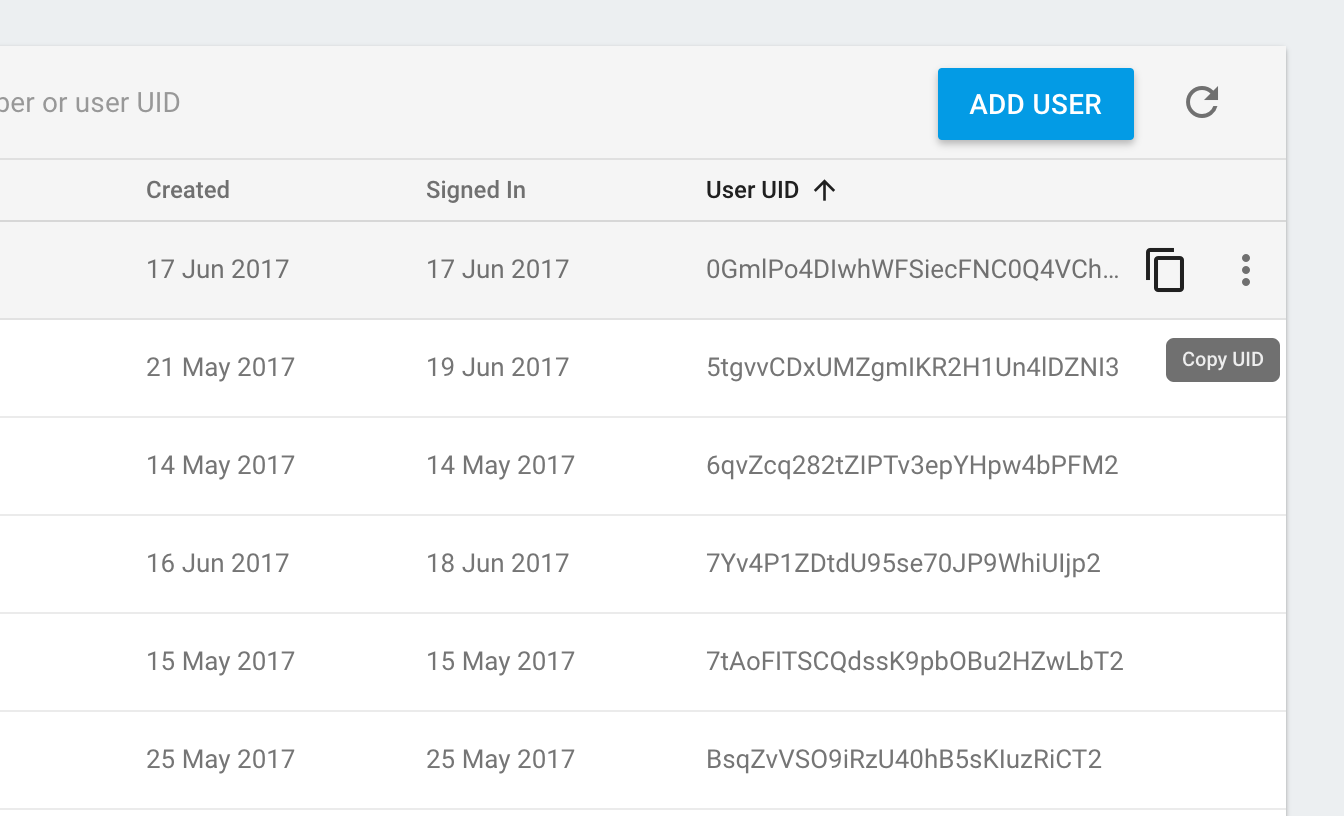
4. Setting User To Access Backend
- Open firebase console
- Go to Authentication and copy the user UID you want to set as Admin
- Go to Firebase Database, create user then user UID then role:2
Contact me if you need any help!