Info
| Name | VamShop – React Shopping Cart CMS |
| Market | codester.com |
| Category | Miscellaneous |
| Tags | API, backend, dashboard, ecommerce, frontend, NodeJS, PWA, react, rest, shopping cart, spa |
Overview
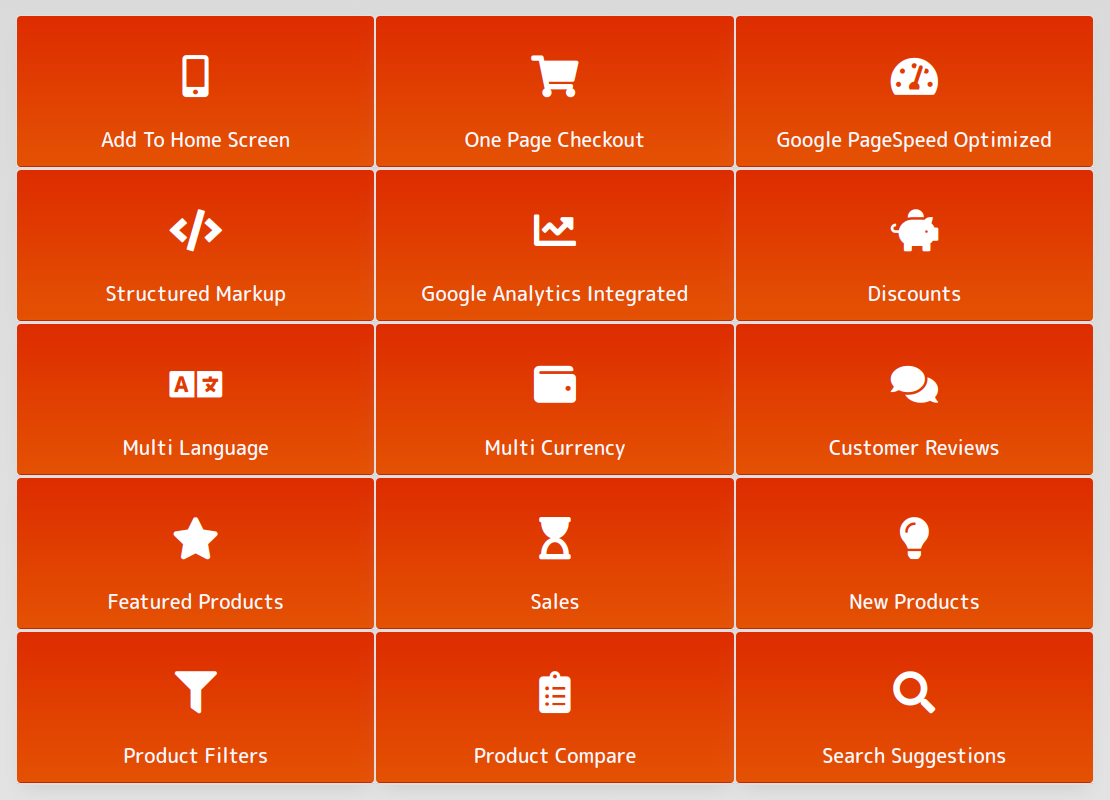
Features
- Products (options, variants, attributes)
- Product categories
- Inventory and stock management
- Customers
- Customer groups
- Orders
- Order custom statuses
- Pages
- File manager
- Shipping and payment methods
- Custom shipping fields
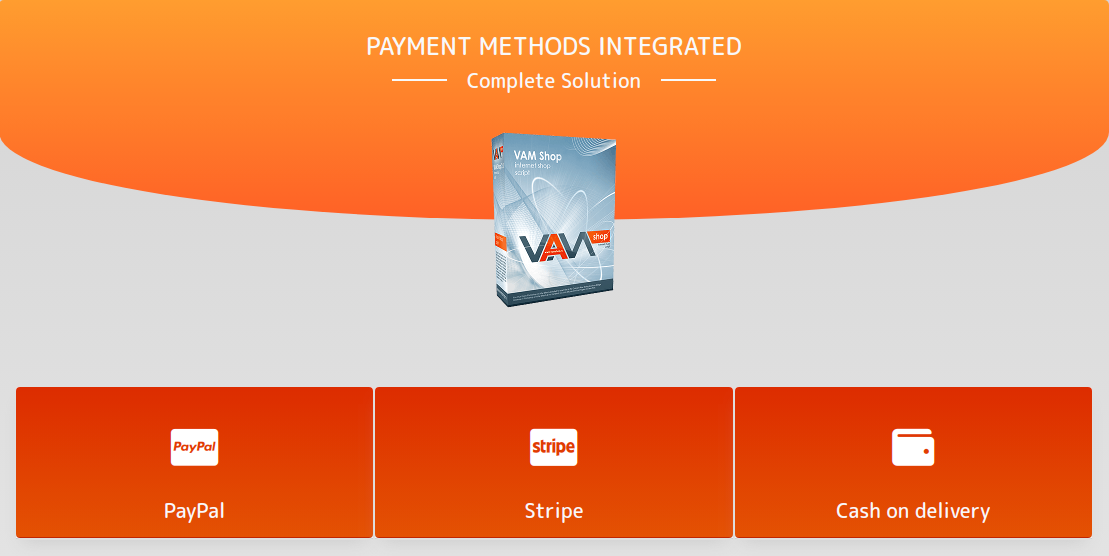
- Payment Gateways
- Checkout options
- Access Tokens
- Export theme to zip archive
- Install theme from zip archive
- Theme Settings
- Apps Store
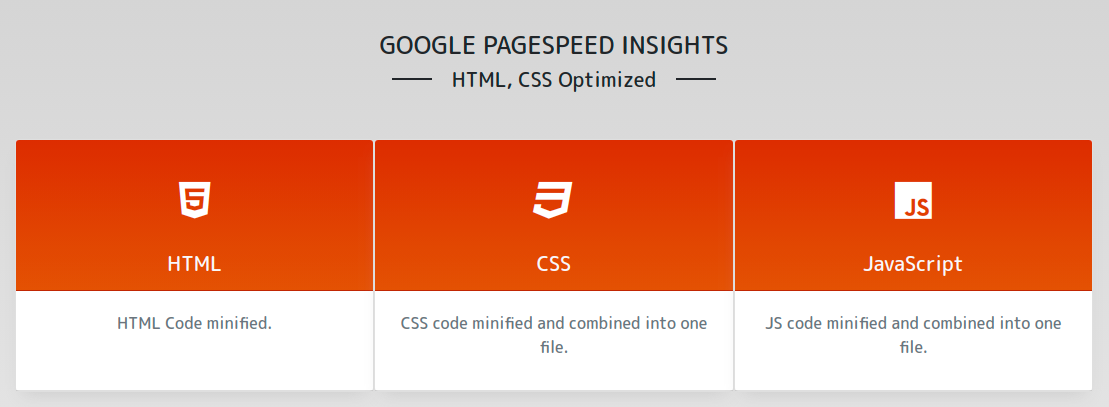
- Server-side rendering (SEO friendly)
- Passwordless
Requirements
- NodeJS: 8.x-11.x
- NPM: >=6.3.0
- PM2: >=3.0.3
- MongoDB: >=4.0
Instructions
A) Backend (API) Installation
Go to vamshop-api directory.
- Change settings at config/server.js
Open
server.jsand change- MongoDB Creditionals – you can use default values for the first time.
- SMTP Settings – you can use default values for the first time.
- JWT and Cookie Secret Key – you can use default values for the first time.
Save file and go back to root app direcotry
cd ../
Install dependencies
npm i
- Setup database
Prepare database at this setup our database is empty. To add default data, indexes and access token we need to run:
npm run setup <email> <domain></domain></email>
We don’t have real domain, so we’ll use our local domain:
npm run setup [email protected] http://localhost:3000
This script will add token with email [email protected] and my domain to http://localhost
Start application in the background
pm2 start process.json
or you can start app in your terminal (you will see debug information, that is useful for debug):
npm start
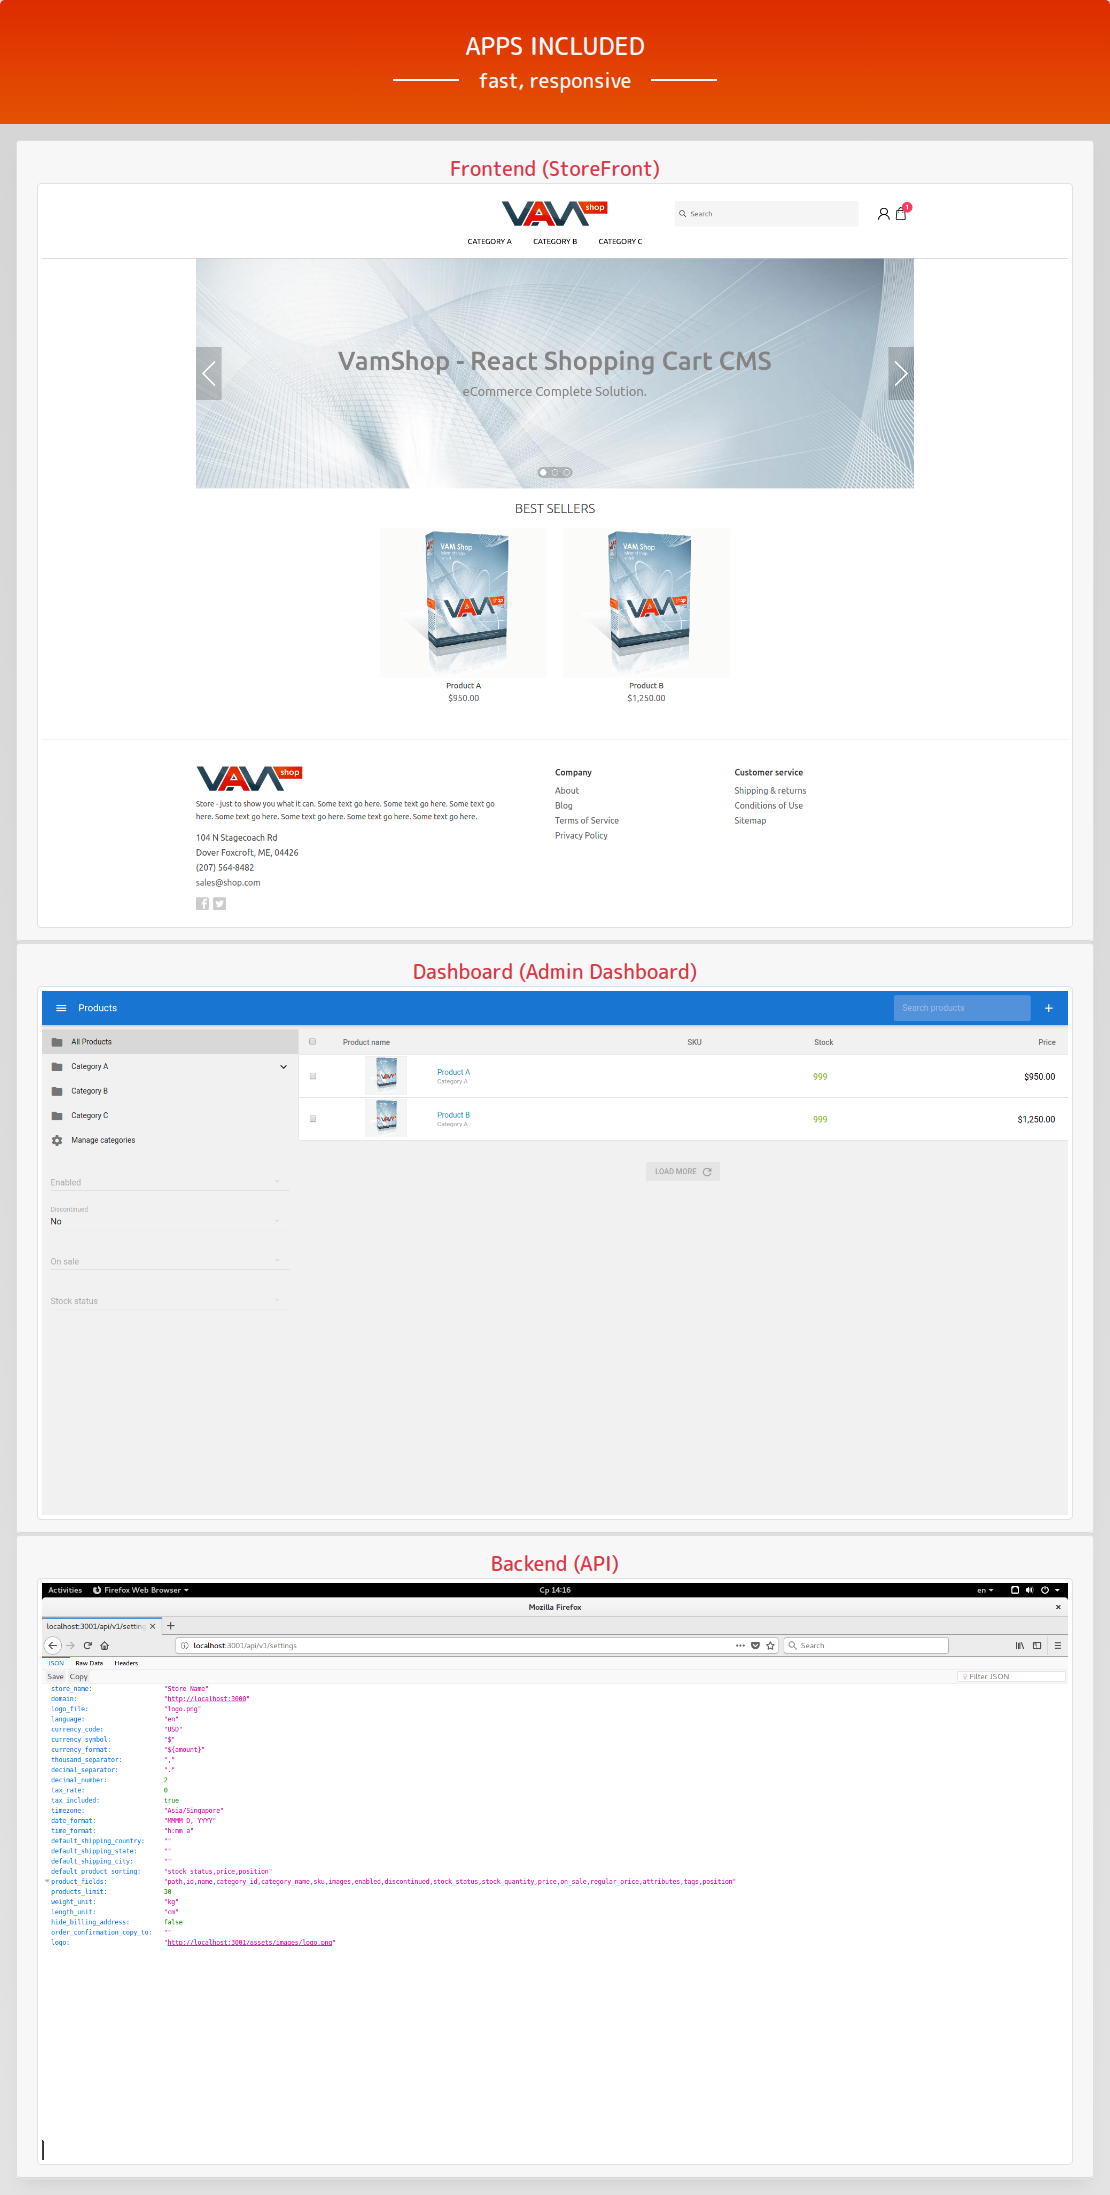
At this setup, we have api running on port 3001 and available at http://localhost:3001
For example, we can open in browser default store settings: http://localhost:3001/api/v1/settings
info: API running at http://localhost:3001 info: MongoDB connected successfully
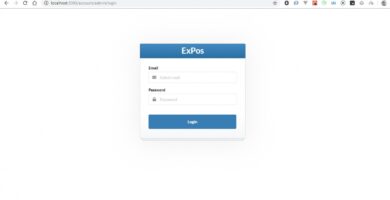
B) Frontend (Store) Installation
Change settings
cd vamshop-storefront/config
Open store.js and change
- JWT and Cookie Secret Key – you can use default values for the first time.
Save file and go back to root app direcotry
cd ../
Install dependencies
npm i
Build project
npm run build
Start vamshop store frontend application in the background
pm2 start process.json
or you can start app in your terminal (you will see debug information, that is useful for debug):
npm start
- At this setup your vamshop store is now connected to api and available in browser at http://localhost:3000
P.S. Your backend (api) must be online. Don’t forget to start backend before you starting storefront app.
info: Store running at http://localhost:3000
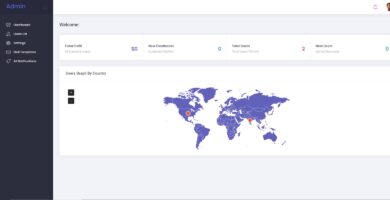
C) Admin Dashboard Installation
Go to vamshop-dashboard app folder
cd vamshop-dashboard
Install dependencies
npm i
Build project
npm run build
Start vamshop store frontend application in the background
pm2 start process.json
or:
pm2 serve ./dist 3002
- At this setup your vamshop admin dashboard app is now connected to api and available in browser at http://localhost:3002
- P.S. Your backend (api) must be online. Don’t forget to start backend before you starting admin dashboard app.